
MAKE KOMBUCHA
1. CLEAN EVERYTHING ~ STERILIZE WITH NO SOAP RESIDUE! This is super important! If you get mold you must toss everything (scoby included) and start over.
2. MAKE 1 GALLON OF TEA, BLACK OR A GREEN/BLACK MIX Black tea is important because it provides all the tannins necessary for optimal probiotic growth. If you do a green tea brew, alternate the next brew with black or make a combo of both for each brew. Organic best. 1 gallon needs about 6 tea bags. Add 1 Cup of cane sugar and stir well to dissolve. COOL to room temperature. TIP: if you don’t have much time to wait for cooling, make a half gallon (Same amount of tea bags and sugar), then add a half gallon of cold water AFTER the sugar has dissolved.
3. PUT COOLED TEA IN YOUR LARGE BREW JAR ~1 GALLON IS IDEAL.
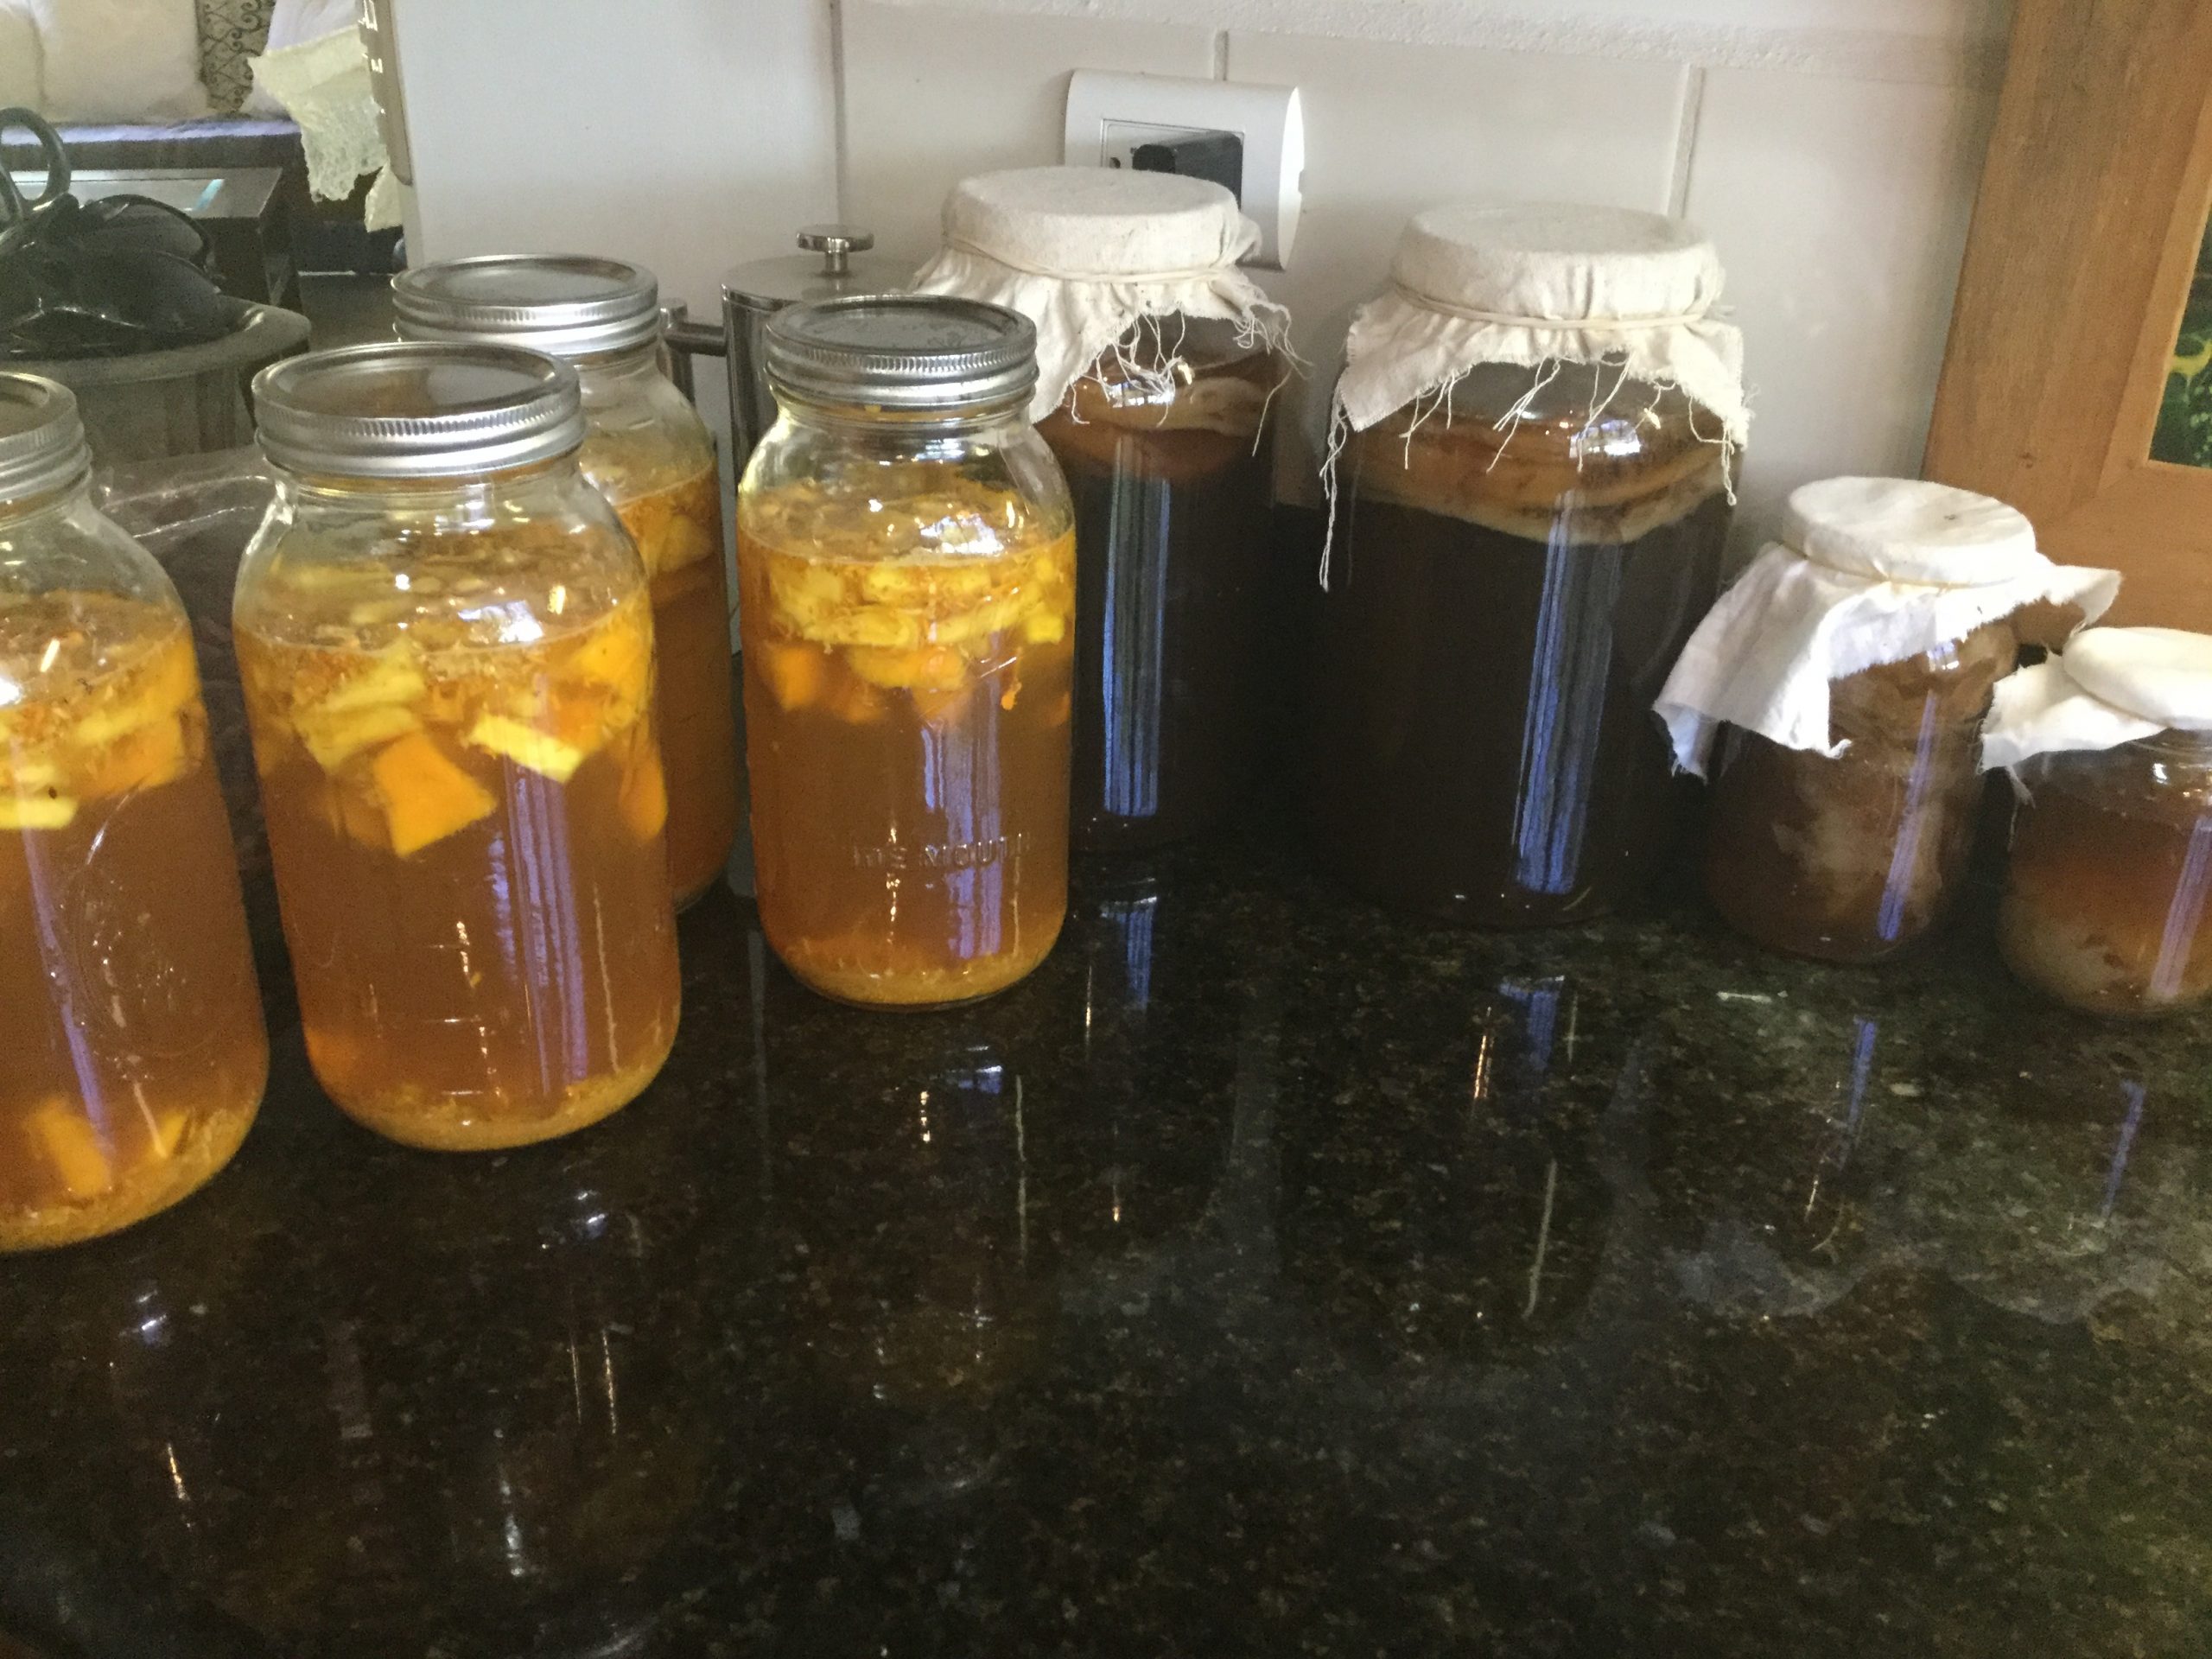
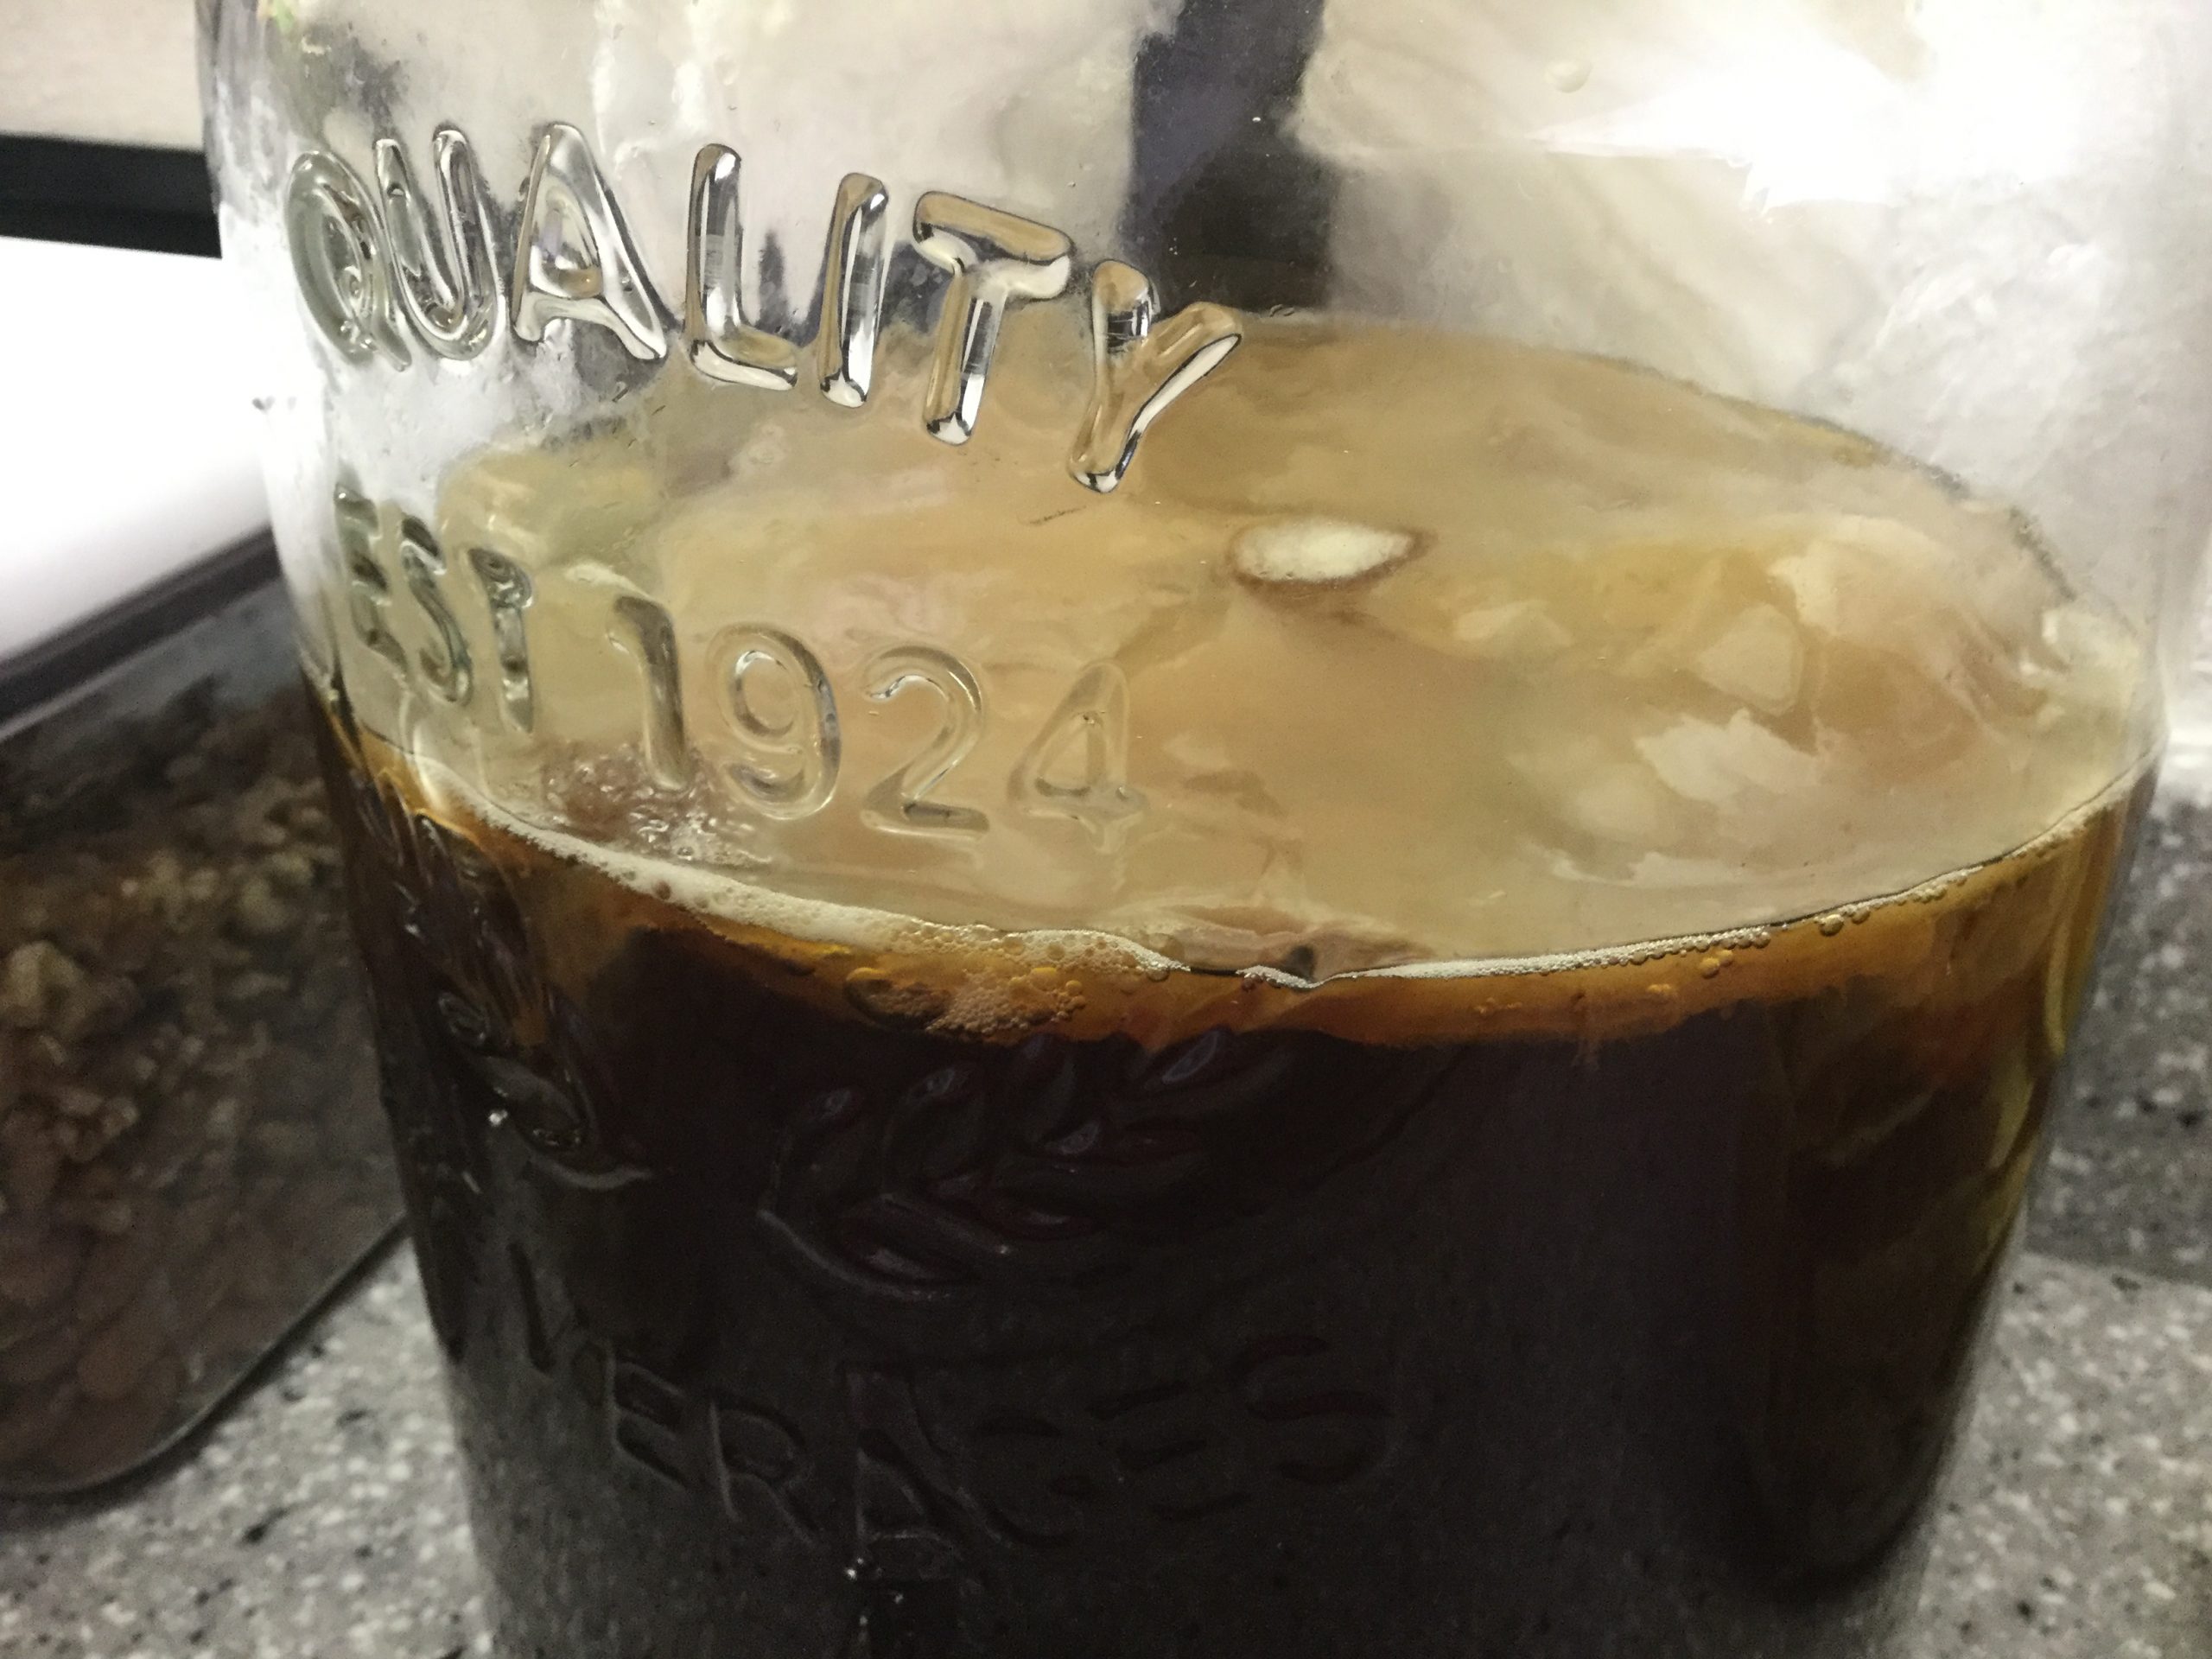
4. THE “F1” (FIRST FERMENT) Add the starter the sweet tea and stir well. The drop in the scoby. Sometimes they float, sometimes they sink – no worries they have a mind of their own and will most likely come to the surface and become part of the next scoby which will form on the surface of the tea. Place a clean piece of fabric over the opening and secure with rubber band or string. Don’t let the fabric touch the tea. Allow at least 2” of space.
5. TEST THE FLAVOR IN ABOUT 5 DAYS You will see a new scoby forming on the surface. Sometimes it takes 7-12 days (temp. and sugar and strength of your starter are some factors.) Mine are generally ready to move on to the F2 (second ferment) of flavoring and carbonation after 5-7 days. I use a clean stainless-steel straw to test the sweetness. Slide it in at the edge of the scoby and place your finger over the end to capture some Kombucha. Release into a spoon and taste. It is ready for the F2 (second ferment) when it no longer tastes super sweet. Everyone has their own preferences. I like a slight hint of sweet and no vinegar taste. The fact that you have started growing a new scoby on the top is proof that the sugars are being consumed by the yeasts and creating all those wonderful healthy probiotics that Kombucha gifts us. You may notice that your tea lightens in color as the sugar is consumed.
6. F2 ~ THE SECOND FERMENT (3-5 DAYS LONG) This is where you create flavor and carbonation!
- A. Make sure everything is Sterilized. ~ bottles, bowls, hands, anything that touches your Kombucha or scoby. This includes the cutting board you chop your fruit on.
- B. Remove your scoby with a CLEAN hand into a CLEAN bowl for safe keeping.
- C. Stir the Kombucha thoroughly in your brew jar to mix all the yeasts and probiotics evenly.
- D. Remove ½ to 1 cup of the liquid. This liquid, along with your scoby, will be your starter for the next brew.
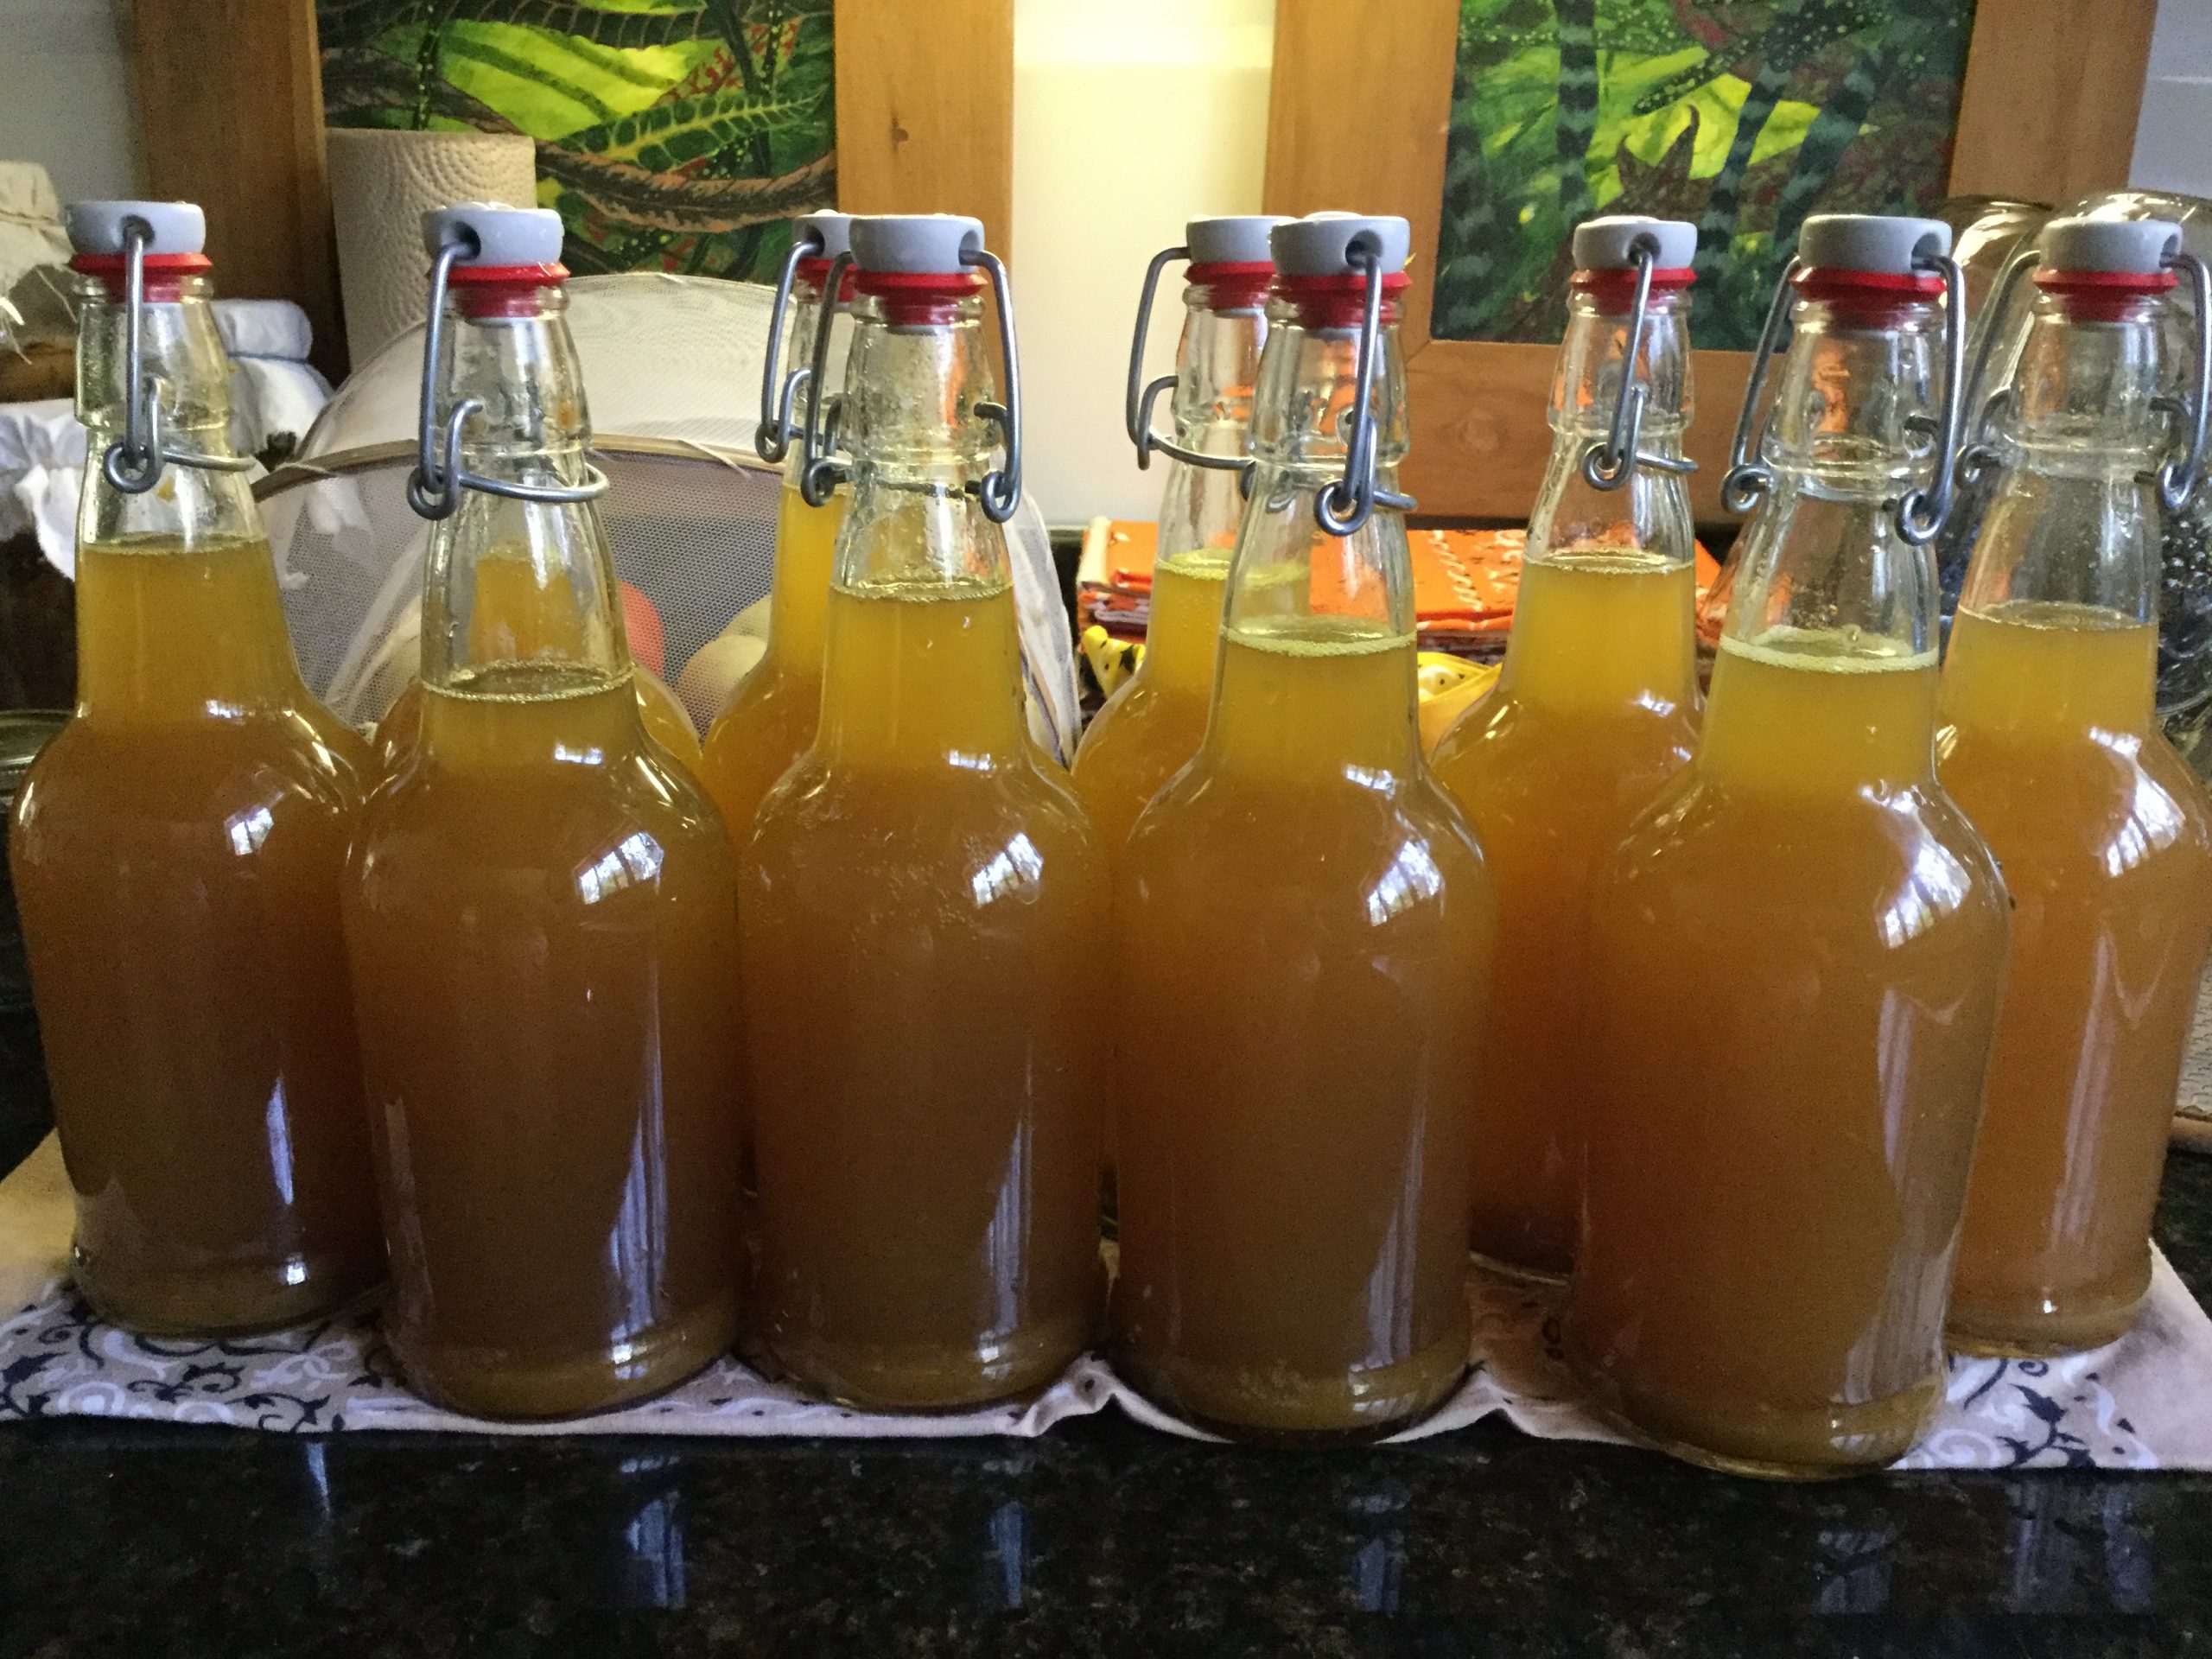
- E. Add fruit juice or chopped pieces of fruit to clean sanitized bottles that have a tight fitting sanitized cap or lid. (Round is best, as pressure forms and some decorative shapes can burst.)
- F. Pour or ladle your Kombucha into bottles or jars with the fruit or juice. Leave about 1” or 2” of air space at the top.
- G. Cap tight.
- H. “Burp” the bottles daily. You need to release excess gasses that build up while the kombucha is getting carbonated.
- I. After about 3- 5 days your carbonation and flavor should be done. You can always go longer for more fizz.
- J. Strain out any chunks of fruit and bottle up your Kombucha. If you used juice, no straining required. Your Kombucha is ready to drink! Yeah!
- K. Refrigerate. Your Kombucha will last months in the refrigerator and it will add a bit more fizz over time. If you don’t refrigerate they will continue to ferment and explode.
7. BEGIN AGAIN ~ WITH A NEW BATCH OF SWEET TEA AND YOUR RESERVED LIQUID AND SCOBY! This is called Continuous Brew (CB). You will always have Kombucha for life!
TIPS
1. Don’t over steep your tea. It can cause bitterness. A good strong tea is fine. Lemon and orange rinds also cause bitterness.
2. I like to do my F2(second ferment) in half gallon mason jars. It makes it easy to add big chunks of fruit and to strain them out when I bottle. The flat lids will buckle a bit though if I forget to burp and don’t seal as tight in the future.
3. Keep a Scoby “Hotel” going. If you get mold you must throw everything away, sterilize and start over. With a “Hotel”, you will have reserve liquid and scobys. The reserve liquid may be super strong and vinegary tasting depending on how old it is. You will only need ¼ to ½ cup when you start up a new batch and one piece of scoby.
4. All fruits and veggies can be used to flavor in the F2(second ferment)
5. NEVER use Honey or flavored teas in the F1 (first ferment). Honey will kill off some of the yeasts and beneficial bacteria, as well as weaken your scoby. Flavored tea (earl grey has bergamot) or any other flavored tea will weaken or kill off or cause mold. I use Hibiscus flowers only in the F2, never in the F1. The F1(first ferment is ideally Black tea or a blend of black and green and cane sugar.
6. Raw sugar or white does not seem to matter. My preference is organic everything.
7. If you are going to be gone for months, divide up your scobys, make hotels for them in several jars with some fresh sweet tea and place a cloth cover over them leaving at least 2-3” space to the fabric.
8. Keep out of direct light. The counter is fine with ambient light.
9. Wash and reuse all your bottles.
Enjoy! Please let me know how yours turns out and what flavors you like best and share on Facebook and Instagram.